Crafts: how to make a toy kitchenette step by step
One of the games that I remember with more affection and where I spent many times skimming, was in my little toy kitchen. And of course, I wanted my little one to enjoy those moments, so now that it starts with the symbolic games and little hands I won nobody, I got to work and in two weekend mornings had it ready.
It may seem very complex to the naked eye, and I understand that if one is not used to messing with wood, saws, laundries ... the first time it may cost, but I promise it is simple if you go unhurried and step Step. So it was fears and ... the mess!
Materials needed to make a toy kitchenette
1 cm thick plywood. We need 9 pieces,
. 1 rear (90x100cm),
. 3 for the sides and the central division (40x40cm),
. 2 for countertop and bottom (100x40cm),
. 1 for the door (30x50cm),
. 1 for where the kitchen controls go (10x50cm)
. 1 piece for the baldite (30x10cm)
You can make the little circles of the glass ceramic with the leftovers of the wood as well as the sink faucet.
- 5 wooden knobs
- Metal handle for oven door
- Photo frame
- Fabric for the curtain
- Metraquilato 30x20cm
- Metal salad bowl (I bought it in a Chinese bazaar)
- Spinners
- Escarpias and alcayatas
- Carpenter's tail
- 2.5cm cylindrical batten for legs
- 1.3cm square batten to finish the worktop
- 2 hinges
- Fabric for the curtain
The type of wood that we are going to use can be bought at any DIY center and is quite cheap, ideally you should go with the measurements and cut them right there, so you just have to get home and start riding.
How to make a toy kitchenette step by step
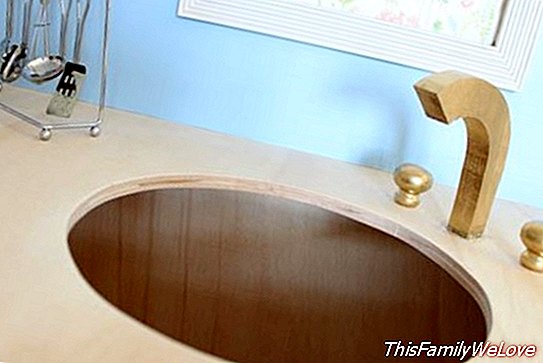
Step 1. Make the hole for the sink. Think that the hole has to be a little bit smaller than the diameter of the salad bowl, so draw it with a pencil before starting to saw. Once you have the round drawn, make a hole in the center of the circumference with a drill and pass through the marquetry saw and you can start to cut by the line drawn. Since you are with the saw in your hand take advantage to also cut 3 rounds of 13 cm in diameter, the tap with the shape you see in the photos and make the hole to the oven door.
Step 2. Now we have to assemble the entire structure. To assemble the structure, the simplest thing is to place the back on a flat surface and hook the bottom of the kitchenette, the countertop and the sides, to later fit the central division and the maderita where the handles will be placed as controls. the kitchen. Previously you can point out in pencil where each wood goes to ensure that everything fits and have a first vision that allows you to work more peacefully.

Once you have assembled the structure, it is best to leave it overnight and make sure everything is dry before handling it. Being a very light wood, with carpenter's tail is very resistant, but to ensure a little bit you can put some other screws or small square once the tail is dry, so we will make sure that it is shockproof and that the kids can play with it without fear.
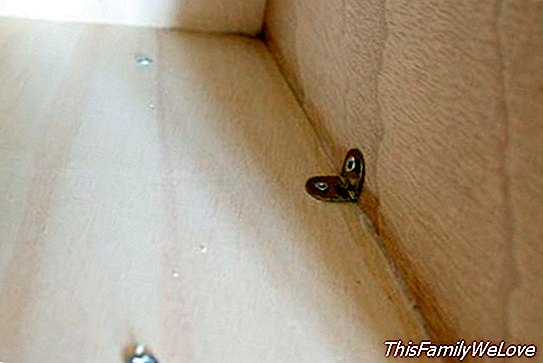
Step 3. We will place the legs. The ideal is to do it at this time to be able to work with her in her position, so it will be easier and more comfortable for us. First we have to cut 4 pieces of 10 cm from the cylindrical strip. To place them I have passed 4 screws from the inside of the kitchenette and I have been twisting the legs to these screws.
Step 4. Place the oven door with the two hinges.
Step 5. Place the top of the worktop. This step is optional, it really is not necessary, but it seemed to me that it was that way more cuckoo. For that you cut three pieces of the square ribbon, one of the measure of the front and two as the sides and you stick them with carpenter's tail. So that they do not fall while drying, you can fasten them with bodybuilder's tape.
Step 6. Paint. To paint it I have used a water-based enamel in blue and white and the countertop I have only given a little wax, but any paint would work and you do not need to give primer, on the plywood grip perfectly. You also paint two pomitos and the tap in metallic color, I used the gold color, but in silver it would look great and match the sink. Finally, you paint the little circles of the glass ceramic in black.
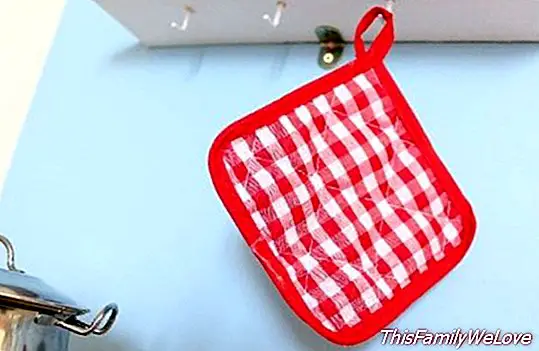
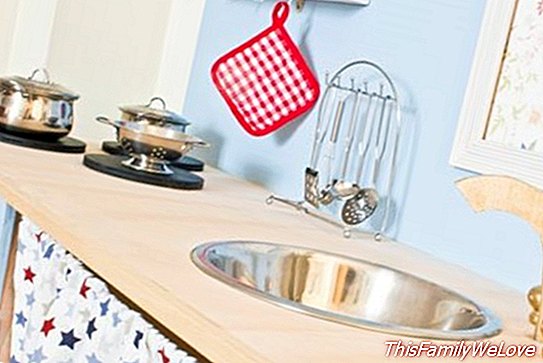
Step 7. Final shots. Once everything is dry, in about an hour, stick the tap, the little circles of the glass ceramic, place the knobs with the help of the drill and a few hooks under the baldita as hangers.
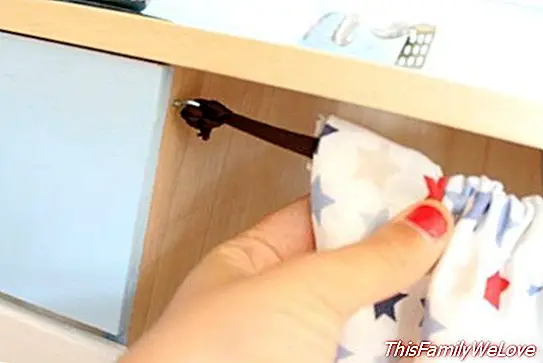
Step 8. We only have to hang the curtain, for this I have passed a rope through the hem I made and tied it to two hooks. Simple, cheap and more than enough.
As you can see, it is possible to have a personalized and customized kitchen without leaving a kidney and with the satisfaction of having done it.
Noelia Cachafeiro. Interior designer and founder of the creative workshop Le Palier, specialized in the design and restoration of recycled wood furniture.


